The sequencer screen
Tap Rec at the top to open it. The chord pads move to the top row and the timeline sits below.
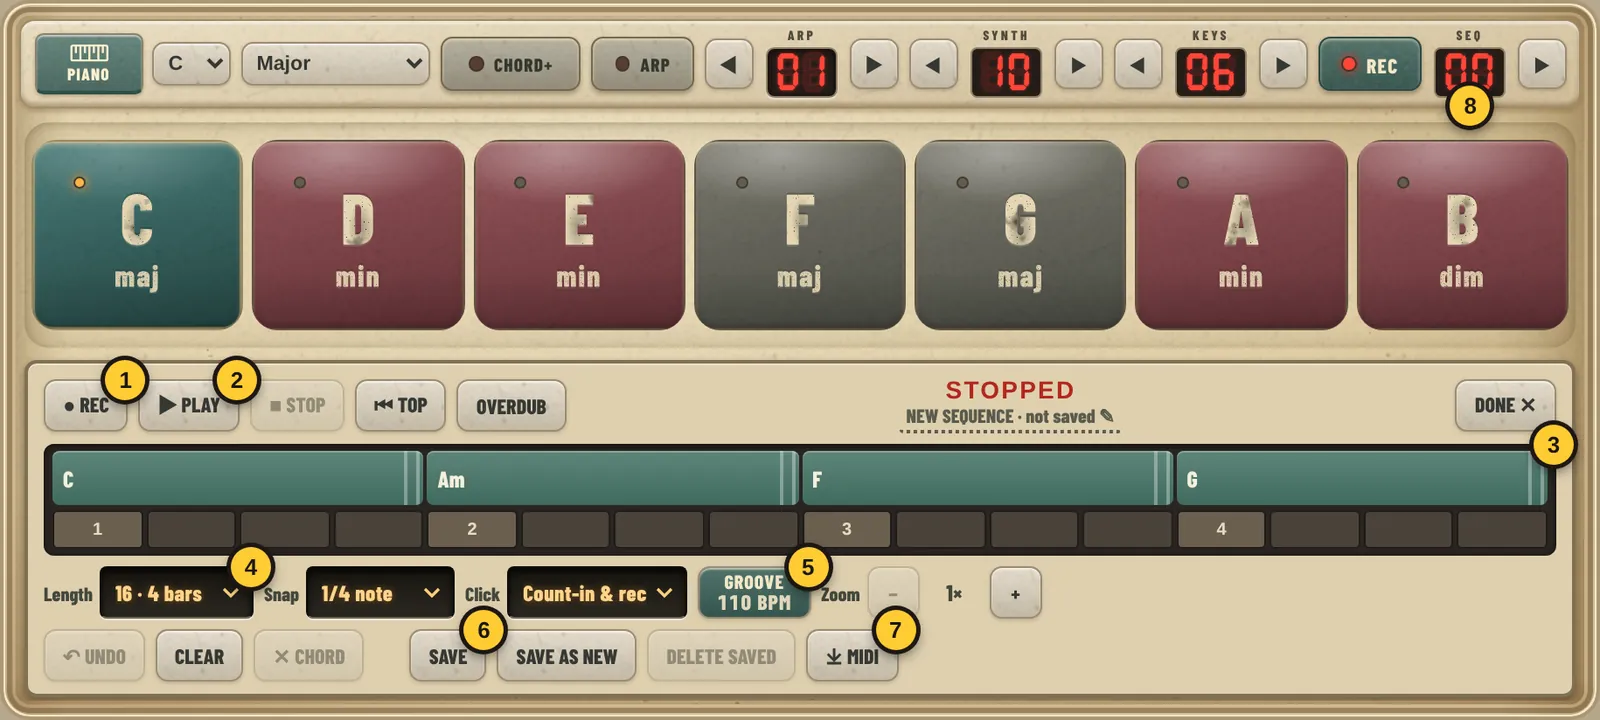
- 1Rec: one bar count-in, then tap chords in time.
- 2Play / Stop, Top to restart, Overdub to add more.
- 3Timeline: drag chords to move them, and drag a chord's right edge to change its length. Pinch to zoom.
- 4Length up to 16 bars, plus snap and click.
- 5Groove: the band and tempo, without leaving the sequencer.
- 6Save / Save as new. Sounds, bass and settings are saved too. Tap the title to name it.
- 7MIDI: export to your Downloads, to finish the song in a music app on your computer.
- 8Seq number: opens your saved sequences as pads.
Record live
- Set Length (for example 4 bars) and the tempo in Groove.
- Press ● Rec. You hear a one-bar count-in.
- Tap your chords in time. Each one lasts until the next.
- Press ■ Stop, then ▶ Play to hear it loop.
- Missed something? Overdub records on top, and Undo takes back the last change.
Drag them in
No need to play in time. Hold a chord pad and drag it onto the timeline, and drop it where you want it to start. Keep going until the bars are full, then press ▶ Play.
This is the easiest way to try ideas: move chords around, stretch them, and listen.
Edit on the timeline
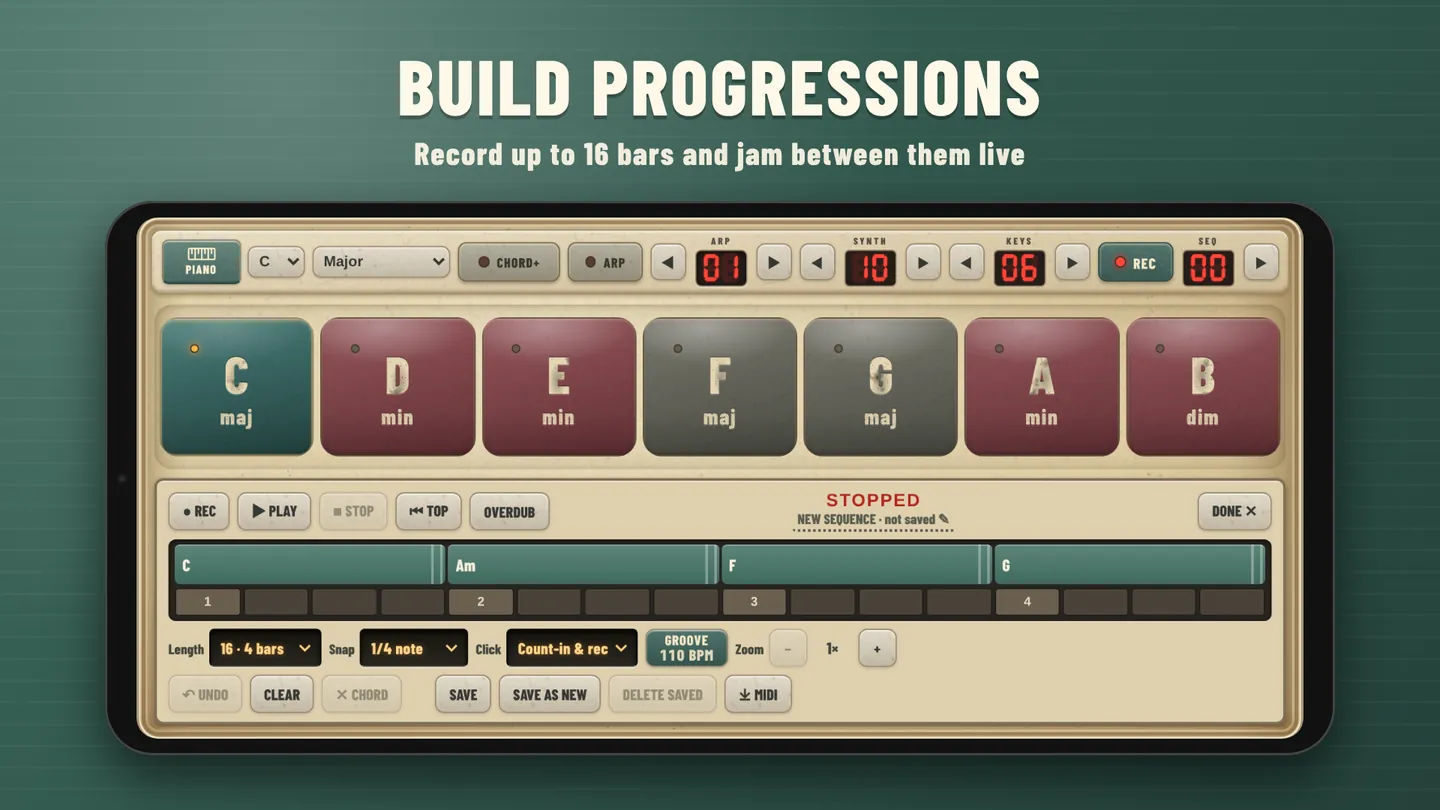
- Move a chord by dragging it.
- Change its length by dragging its right edge.
- Remove a chord: select it and press ✕ Chord. Clear empties the whole timeline.
- Zoom with − and + or by pinching, for long sequences.
- You can change the band, tempo and sounds while it plays.
Save, name & export
- Save stores the sequence with its sounds, bass and settings. Save as new makes a copy, so you can try a variation.
- Tap the title above the timeline to give it a name, like Verse or Chorus.
- Delete saved removes it for good.
- ↓ MIDI exports the chords to your Downloads folder. Open the file in GarageBand, FL Studio, Ableton or any music app to finish the song there.
Bass hold chords
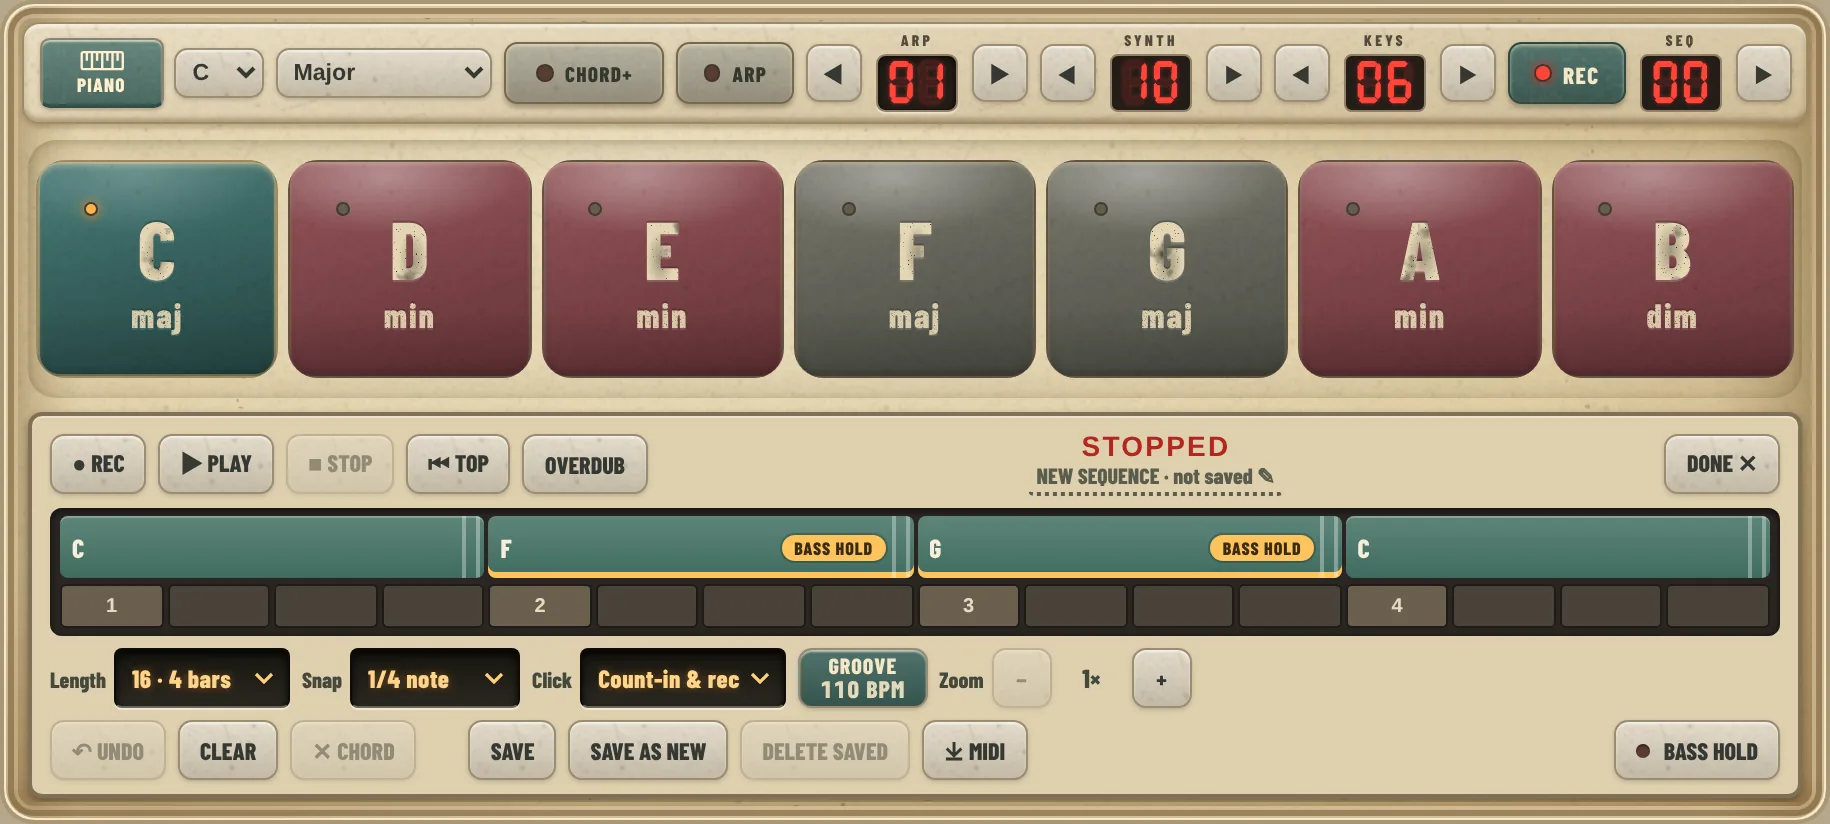
With Bass hold button turned on in Groove, the sequencer gets a Bass hold button at the end of the bottom row. Hold it while you drag a chord in, and that chord keeps the bass of the chord before it.
Tagged chords show an amber BASS HOLD label. Several in a row all keep the same bass. More in the Groove guide.
Jam between sequences
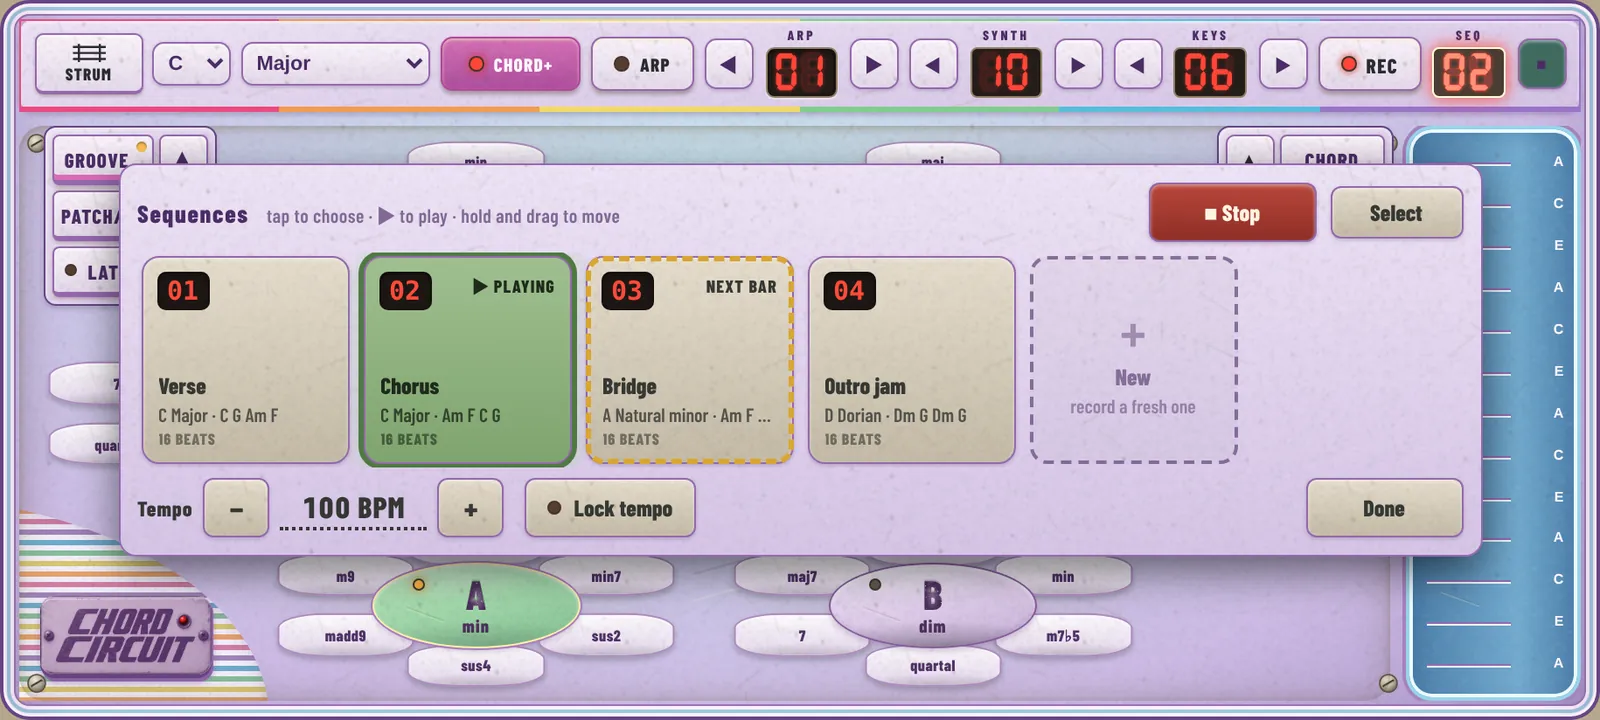
Tap the SEQ number at the top. Your saved sequences appear as pads, like a live performance set.
- Tap a pad to choose it, then press ▶ Play.
- While it plays, tap another pad. It takes over on the next bar, so the music never stumbles.
- Hold and drag pads to put them in song order: verse, chorus, bridge…
- Turn on Lock tempo to keep one tempo for every sequence.
Build a mini song
- In C Major, drag in C → G → Am → F, one bar each. Save it and name it Verse.
- Press Save as new, clear it, and drag in F → G → C → C. Name it Chorus.
- Add drums and bass in Groove, then open the SEQ pads.
- Play Verse twice, tap Chorus, and switch back. That's a song structure.
- Switch to Piano and play a melody on top while it loops.